Overview
This guide describes the basics of embedding, configuring and working with Learnosity's Author API, a flexible authoring tool for creating Items and Questions and grouping them into assessment Activities. Your Items, Questions and Activities are all stored in your Learnosity Item bank.
We'll set up a simple example page for creating learning content using Author API, then look at the code in detail.
Time to complete: 10 minutes.
Prerequisites
This quick start's server side code is written in PHP, but multiple languages are supported, such as Java, .NET, Python and more.
- Basic PHP, JavaScript and HTML knowledge.
- A PHP-enabled web server, installed on your local machine. (for instructions, follow our environment setup guide.)
Download the quick start examples
If you haven’t done so already, download the Learnosity quick start examples using the link below, unzip them and configure your web server to use quickstart-examples-php/www as its document root directory. We'll assume that your web server is available at http://localhost:8000.
The quick start example package includes:
- The Learnosity Software Development Kit (LearnositySDK).
- The quick start example files.
Once set up, you can load the examples index page at http://localhost:8000/index.html.

View the Authoring Items and Authoring Activities examples
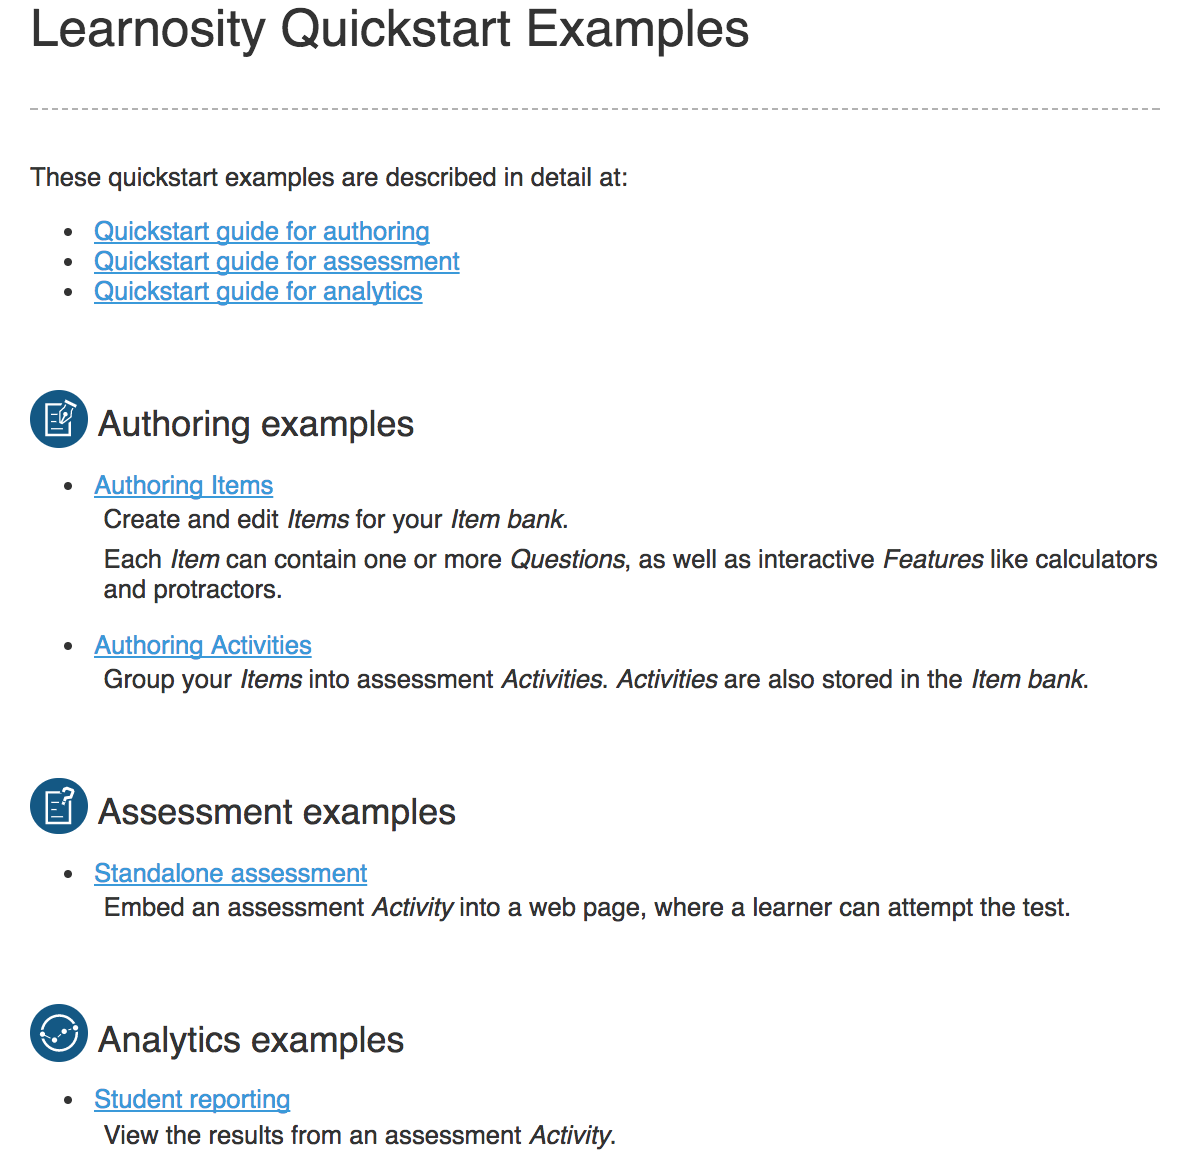
Now view the Authoring Items and Authoring Activities examples by selecting them from the index page. There are two example pages for authoring:
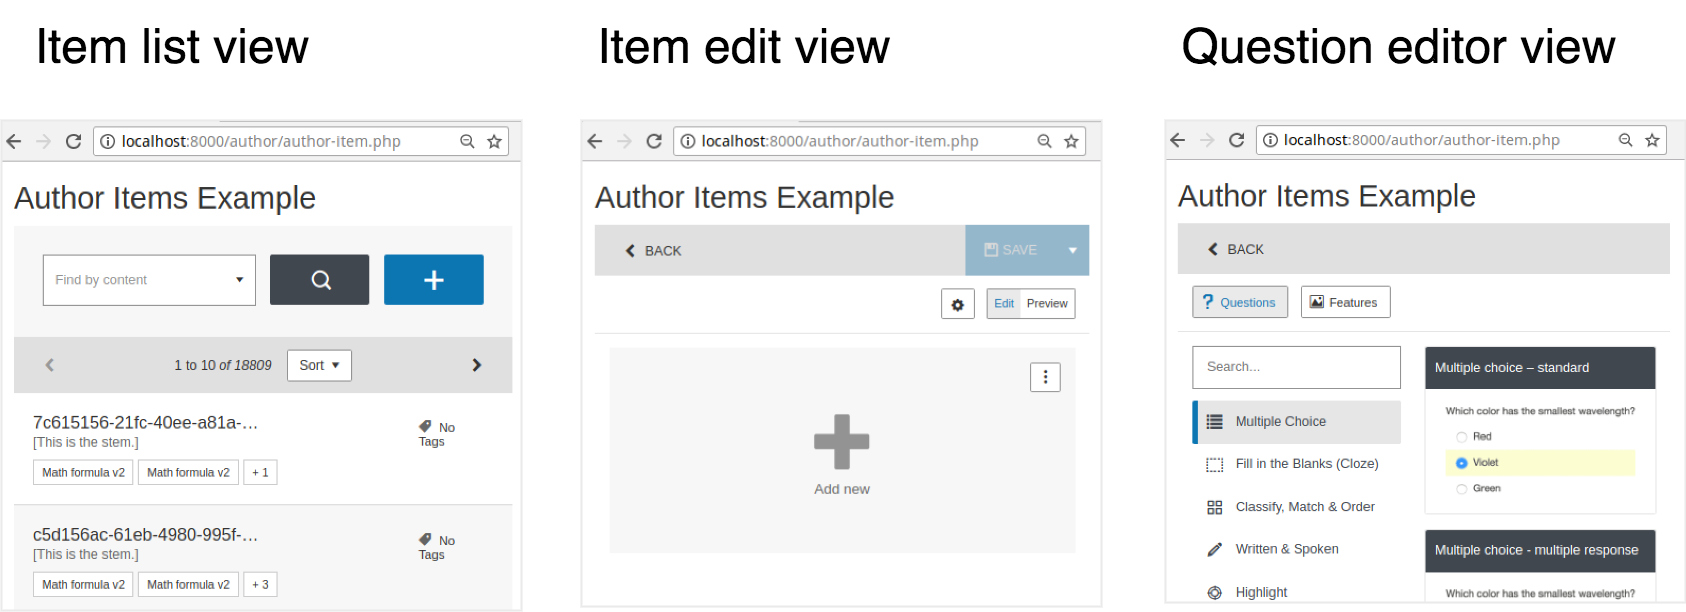
- The Authoring Items example can be used to create Questions and add them to your Item bank. See it at http://localhost:8000/authoring/authoring-items.php (or select the Authoring Items example from the index page).
- The Authoring Activities example can be used to group Items into assessment Activities. See it at http://localhost:8000/authoring/authoring-activities.php (or select the Authoring Activities example from the index page).

How it works
Let's look at the code for the Authoring Items example. The source file is included in the quick start examples at www/authoring/authoring-items.php.
The first section of code is PHP and is executed server-side. It constructs a set of configuration options for Author API, and securely signs them using the consumer key. The second section is HTML and JavaScript and is executed client-side, once the page is loaded in the browser. It renders and runs the authoring functionality.
Server-side code
We start by including some Learnosity SDK helpers - they'll make it easy to generate and sign the config options.
<?php
    require_once __DIR__ . '/../../src/vendor/autoload.php';
    use LearnositySdk\Request\Init as LearnosityInit;
    use LearnositySdk\Utils\Uuid as LearnosityUuid;
Then we declare the config options for Author API:
-
mode: Here we set the mode to"item_list", for browsing and creating Items. Alternatively this could have been set to"activity_list"to browse and create assessment Activities. -
user.id: Unique author identifier.
    $request = [
        'mode' => 'item_list',
        'title.show' => true,
        'user' => [
            'id' => 'author123456'
        ]
    ];
Next, we declare the Learnosity consumer credentials we'll use to authorize this request. These keys grant access to Learnosity's public demos account. Once Learnosity provides your own consumer credentials, your Item bank and assessment data will be tied to your consumer key.
    $consumerKey = 'yis0TYCu7U9V4o7M';
    $consumerSecret = '74c5fd430cf1242a527f6223aebd42d30464be22';
We construct security settings that ensure Author API is initialized on the intended domain.
    $security = [
        'domain'       => $_SERVER['SERVER_NAME'],
        'consumer_key' => $consumerKey
    ];
Now we call LearnositySDK's Init() helper to construct our Author API configuration parameters, and sign them securely with the $security and $consumerSecret parameters. $init->generate() returns us a JSON blob of signed config params.
    $init = new LearnosityInit(
        'author',
        $security,
        $consumerSecret,
        $request);
    $initOptions = $init->generate();
?>
Web page content
We've got our set of signed configuration parameters, so now we can start outputting our page content. The page can be as simple or as complex as needed, using arbitrary HTML, JavaScript and your frameworks of choice to render the desired product experience.
This example uses a plain HTML page for simplicity, but the important parts are:
- A div with
id="learnosity-author". This is where the authoring user interface will be rendered. - The
<script src="https://authorapi.learnosity.com?v2022.1.LTS"></script>tag, which includes Learnosity's Author API on the page and makes the globalLearnosityAuthorobject available. - The call to
LearnosityAuthor.init(), which initiates Author API to inject the authoring user interface into the page. - In our case, we use PHP to dynamically echo the contents of our signed JSON blob of
$initOptionsinto the JavaScript so it can be passed toinit().
<!DOCTYPE html>
<html>
    <head><link rel="stylesheet" type="text/css" href="../css/style.css"></head>
    <body>
        <h1>Authoring Items Example</h1>
        <div id="learnosity-author"></div>
        <script src="https://authorapi.learnosity.com?v2022.1.LTS"></script> <script> var authorApp = LearnosityAuthor.init( <?php echo $initOptions; ?> ); </script> </body> </html>
The call to init() returns an instance of the AuthorApp, which we can use to programmatically drive authoring using its public methods.
Next Steps / Related Links
From here, try modifying the example files and take a look at some more in-depth options and tutorials for using Learnosity authoring functionality.
Tutorials for Author APIFor lengthy discussion of authoring concepts, refer to Learnosity tutorials.
Features of Author APITo learn more about the authoring feature set, see the authoring index page.
Demos for Author APIView interactive authoring demos in the Author API demos.